Astrophotography exposure planning · EU
Choose sub-exposure length with a short test sequence
Use raw image statistics, bright-star checks and a repeatable exposure trial to choose individual frame lengths, then plan retained integration separately.
Choose an astrophotography sub-exposure by comparing a short sequence of trial frames on your actual target. Check the background histogram, inspect the brightest stars numerically, and examine star shapes. Then choose a workable frame length and plan how many acceptable frames you need. A pleasing preview alone is a poor basis for the decision.
This approach gives you a repeatable record for the next session. It also keeps two questions separate: how long should each frame be, and how much exposure should the finished stack contain?
Read the data behind the preview
A histogram counts pixels at different recorded brightness values. Its horizontal axis represents those values; the height shows how many pixels occupy each part of the range. AAVSO’s VPhot documentation describes this distribution and provides a pixel-value view for examining small areas of an image. AAVSO VPhot image analysis.
Start with an unprocessed frame and identify which histogram you are viewing. Use the recorded image statistics rather than judging the brightness of an automatically stretched preview. Siril’s tutorial explains that its autostretch display changes how an image appears without changing its pixel values; a linear image can look almost black before stretching. Siril processing tutorial.
Consequently, a dark-looking preview does not by itself establish that the exposure is too short. Equally, a bright preview does not establish that the faint target has enough useful data.
In N.I.N.A., the Statistics panel reports the histogram, median, minimum and maximum recorded values, alongside other image measurements. Its image history records exposure duration and filter, making it useful for comparing trials. N.I.N.A. Imaging documentation.
For each trial, note the background distribution and median. Avoid adopting a universal instruction to place the peak a particular fraction across the graph: the opened documentation does not establish such a rule. Treat the histogram as a description of this frame, alongside the other checks below.
Inspect bright stars separately
A whole-image histogram cannot tell you where its brightest pixels are. Open a close view of a few bright stars and inspect their recorded pixel values. Include any bright central region of the target that you particularly want to preserve.
Compare those readings with the saturation information for your camera and capture mode. Do not assume that the largest number allowed by a file format is automatically the camera’s useful limit. AAVSO explicitly advises digital observers to avoid saturation and remain within the sensor’s linear response range. That advice concerns photometry, where brightness measurements require particular care; here it supplies a useful reason to inspect bright pixels rather than rely on appearance. AAVSO stellar photometry guidance.
If preserving a particular star or target core matters, make it an explicit acceptance criterion. Record whether the longer trial reaches the relevant limit there. Without a verified camera limit, describe the result as uncertain rather than declaring the frame safely below saturation.
Run a controlled exposure trial
Use the same target framing, filter, gain or ISO, binning and focus for the comparison. Change exposure duration alone. This is a suggested working method, not a manufacturer-prescribed optimum.
- Capture a short trial and save the original file.
- Capture a longer trial with the other settings unchanged.
- Record the duration, background median and maximum value for each.
- Inspect the same bright stars and target regions in both files.
- Compare star shapes at the same viewing scale.
- Repeat the preferred duration to check whether the result is consistent.
Make a small table in your observing notes with a final column headed “reason to accept or reject”. Useful entries are concrete: “important star reaches recorded limit”, “elongated stars”, or “repeat frame acceptable”. “Looks brighter” is less useful because display stretching can influence that judgement.
If star shape is the constraint, revisit the mechanical and guiding questions in Guide scope or off-axis guider. If you change filter strategy, return to Broadband or narrowband filters and repeat the trial rather than treating the previous exposure as a permanent setting.
Keep individual frames and total integration separate
Retained integration is the sum of the exposure durations of the frames you keep. Session duration also includes attempted frames that are rejected and time spent between exposures.
Consider this explicitly hypothetical example. You want two hours of retained exposure. At 120 seconds per frame, you need 60 accepted frames: 60 × 120 = 7,200 seconds. At 240 seconds, you need 30 accepted frames: 30 × 240 gives the same 7,200 seconds. This arithmetic establishes equal retained exposure time; it does not establish equal image quality.
Suppose you choose 120 seconds, allow ten seconds between attempts, and assume ten per cent rejection. Planning 67 attempts allows for that estimated rejection because 60 ÷ 0.9 rounds up to 67. The exposure-and-overhead budget is 67 × 130 = 8,710 seconds, or approximately two hours 25 minutes. Add focusing, slews, filter changes and other interruptions separately.
Use the Astrophotography integration-time planner to explore those assumptions. Rejection remains an estimate, so count the accepted frames after the session.
Leave with a setting and a reason
This trial does not calculate a scientifically optimal balance of background noise and camera read noise. It establishes a practical starting point that you can explain and revisit. Save the trial files, record the camera mode and filter, and write down which constraint decided the duration.
Choose the exposure that meets your stated bright-region and star-shape requirements consistently. Then concentrate on collecting and retaining the planned frames, checking again when you change the setup or conditions.
Work through your own plan
Imaging-session storage calculator
Is there enough working-drive space for the session and processing?
Astrophotography integration-time planner
Can the exposure plan fit inside the imaging window?
Darkness and Moon planning calendar
Which nights offer dark time with the Moon below the horizon?
Continue planning
Related guides
Power
Build an astrophotography power budget that survives the night
Optical train
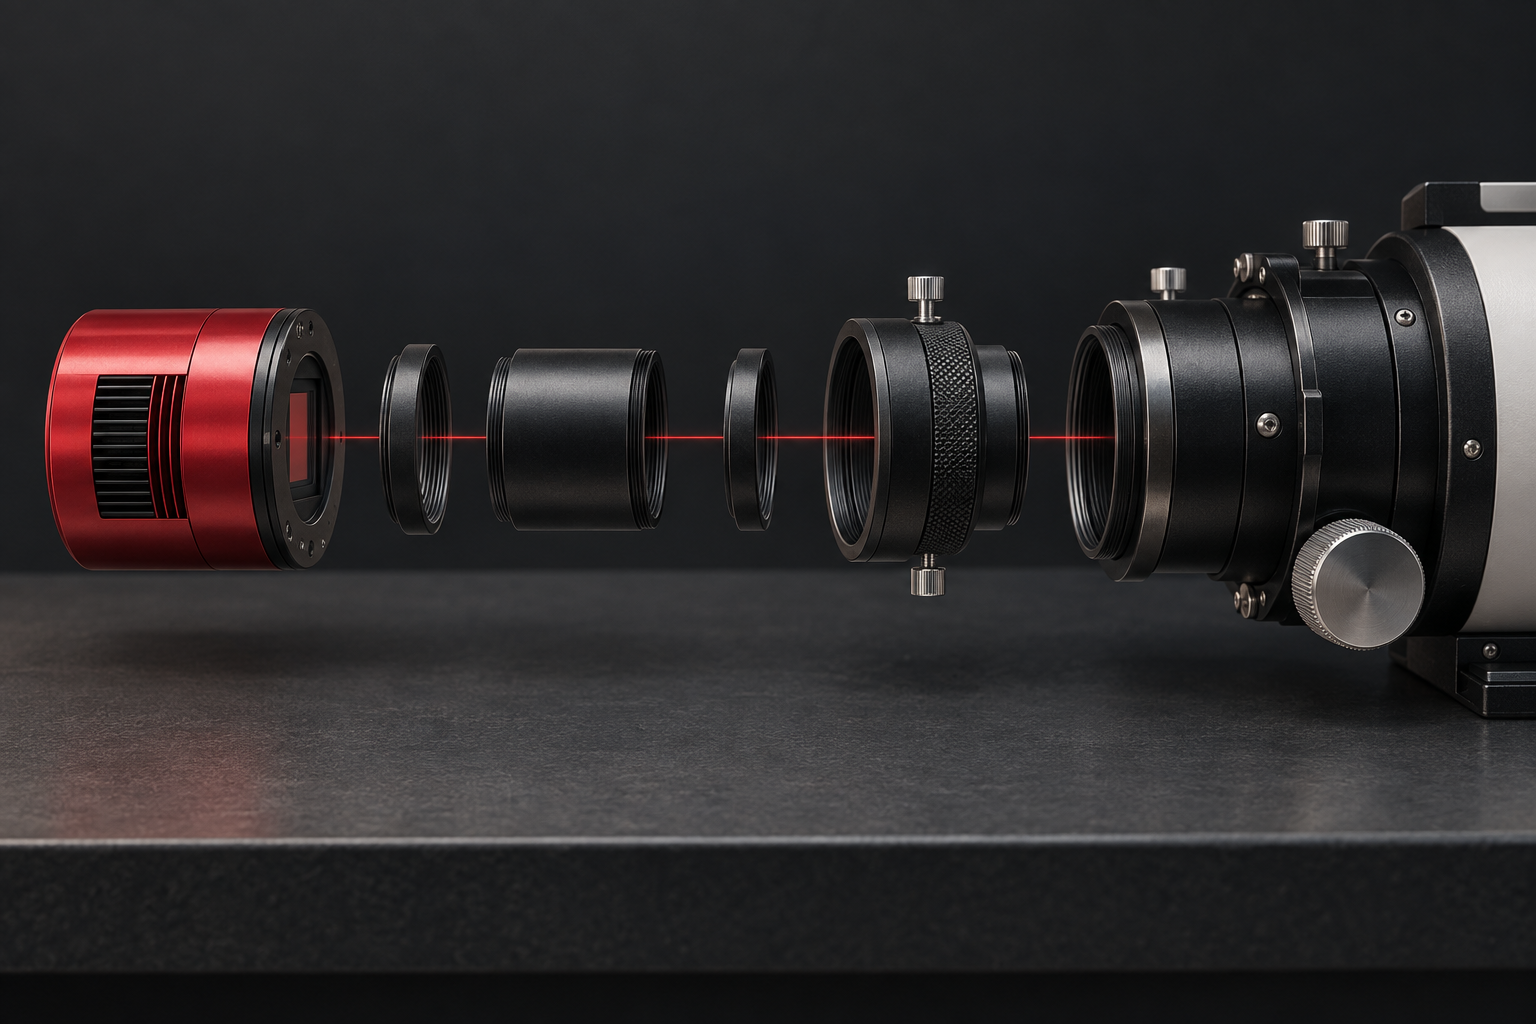
Backfocus and spacing without guesswork
Smart telescope comparison