Optical train · EU
Backfocus and spacing without guesswork
Map adapters, filters and sensor position into a measurable optical train before ordering astronomy accessories.
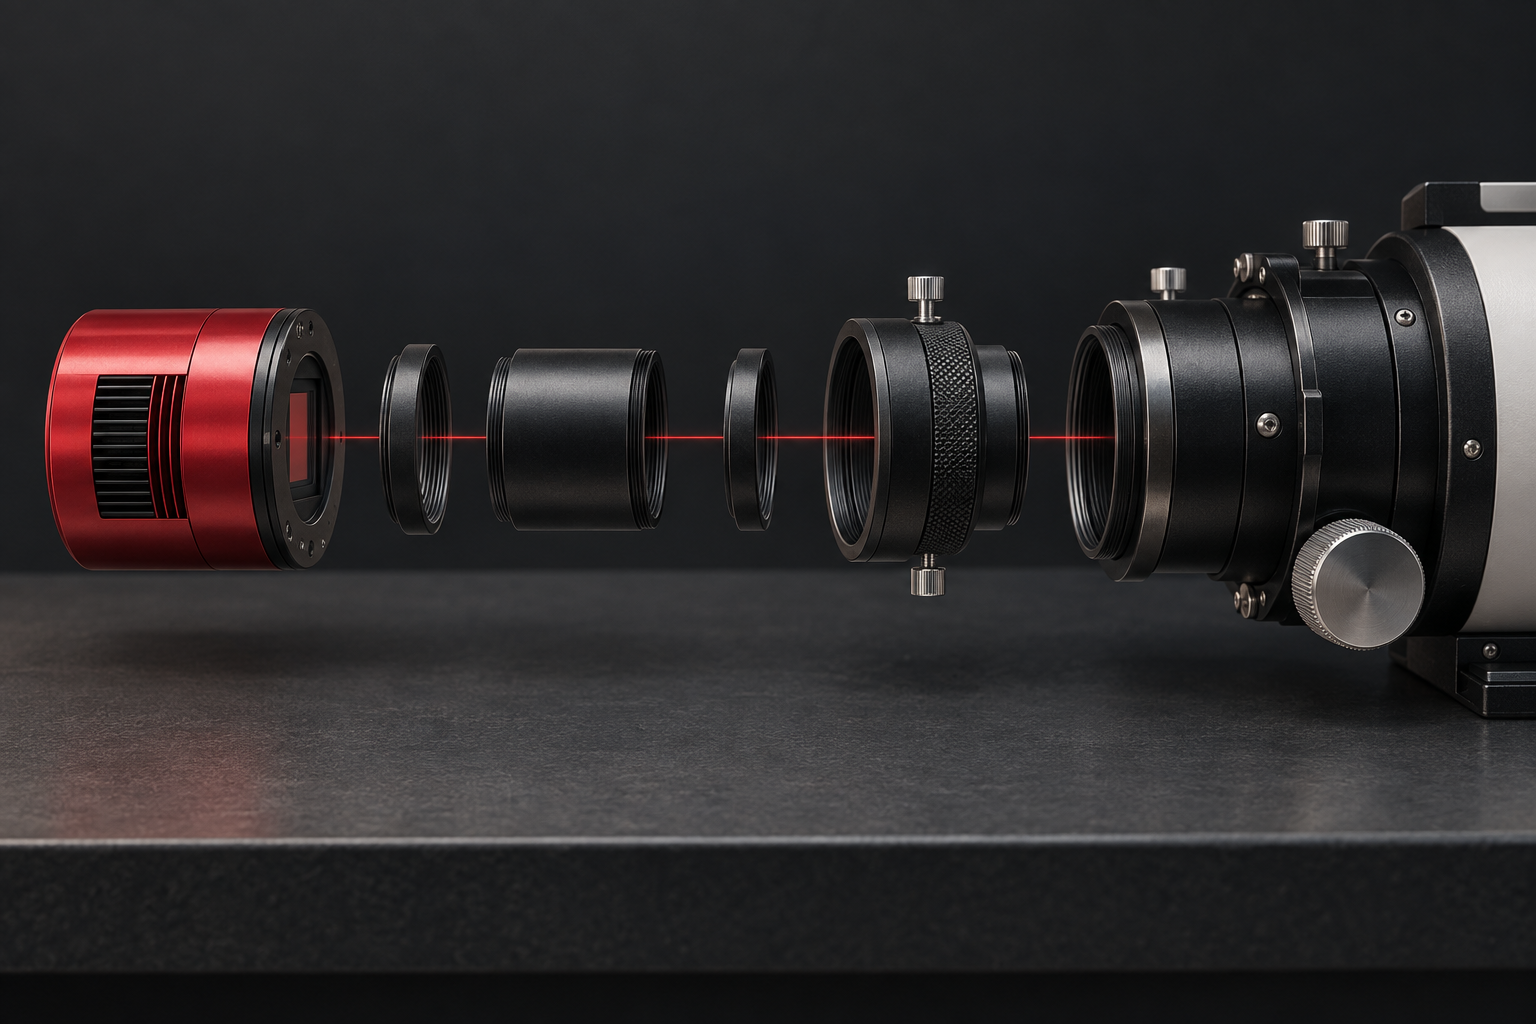
Backfocus problems often begin before the equipment arrives. A quoted working distance is measured between specific reference surfaces, not simply between the outer faces that are easiest to see.
Find both reference planes
For the corrector, reducer or flattener, identify the manufacturer’s rear reference surface. For the camera, identify the sensor position rather than the front of the housing. Camera drawings normally state the flange-to-sensor distance.
Write those definitions beside the target spacing. If a drawing is ambiguous, ask the manufacturer or retailer before buying another adapter.
Make the optical chain explicit
List every part in order: corrector, adapters, off-axis guider, filter drawer or wheel, tilt plate and camera. Record the optical thickness contributed by each item and distinguish male from female threads.
Nominal thread size is not enough. Check thread pitch, usable thread depth, clear aperture and whether a locking ring changes the seated position.
Account for filters carefully
Glass in the light path can alter the effective optical distance. The amount depends on glass thickness and refractive index, so avoid applying a universal correction without the filter maker’s data. Treat any calculated adjustment as a starting point for testing.
Build in controlled adjustment
Use a deliberate combination of fixed spacers and fine adjustment rather than a pile of unrecorded rings. Keep enough travel to test both sides of the nominal distance. Change one variable at a time and retain the original star-field files.
Diagnose the corners
Corner star shapes can indicate spacing or tilt, but poor tracking, focus and optical alignment can confuse the result. Test near the zenith in stable conditions, focus carefully, and compare all four corners before attributing the problem to backfocus.
The useful output is a diagram with every thickness and thread recorded. That diagram makes future camera or filter changes far easier to assess.
Work through your own plan
Backfocus spacing calculator
How much spacing does your camera train still need?
Continue planning
Related guides
Power
Build an astrophotography power budget that survives the night
Smart telescope comparison
Best smart telescope for beginners: see nebulae without building a rig
Family stargazing comparison